
Business requirement
It’s common for companies to manage expense reimbursements for employees. Requirements vary in complexity, but this article covers the core solution. Other cases like travel requisitions or cash advances will be cover by other articles.
The article will be split into two parts. This is the case where the process is simpler than the configuration. Thus, in the first part we will explain the process, and in the second it will be clearer what the intent of each configuration is.
Furthermore, other articles will deep dive into specific functionalities for particular business cases, and we will even discuss how the system inherits the financial dimensions.
Proccess
1- Insert expense
There are two ways to create an expense: before creating the expense report, then insert the expense at the line level. Or, create the expense and then link it to a report. For fluidity, we will explain the first way, but in the appendix at the bottom of the article, we will explain the second way too.
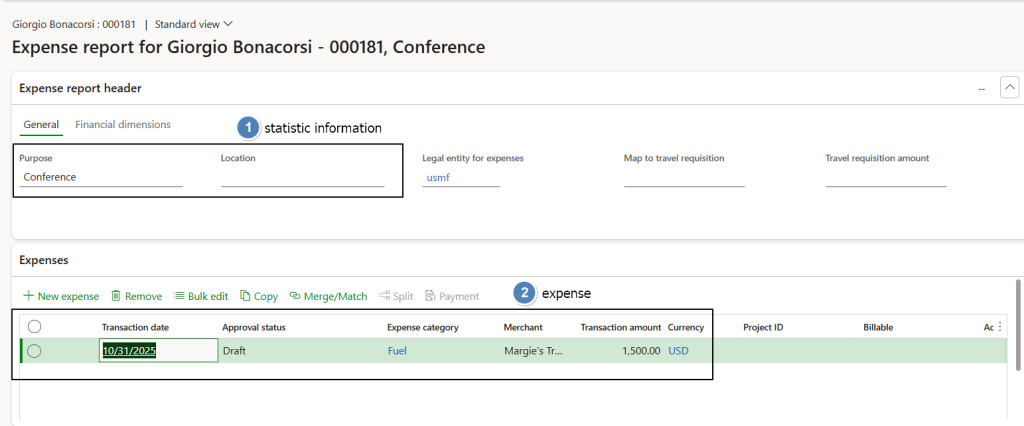
Go to: Expense management> My expenses> Expense reports.
You can insert statistical information about purpose and location here. At line level, select transaction date, expense category, and amount. These are key for reporting. Merchant is statistical information
If weclick on the expense date and we jump on “itemaze” views. From here we can see the all the line’s fields related this expense.
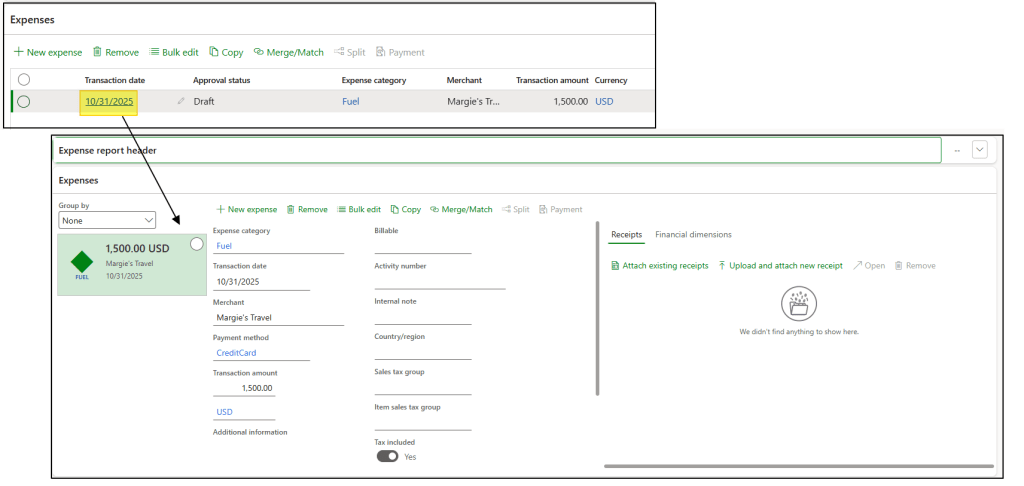
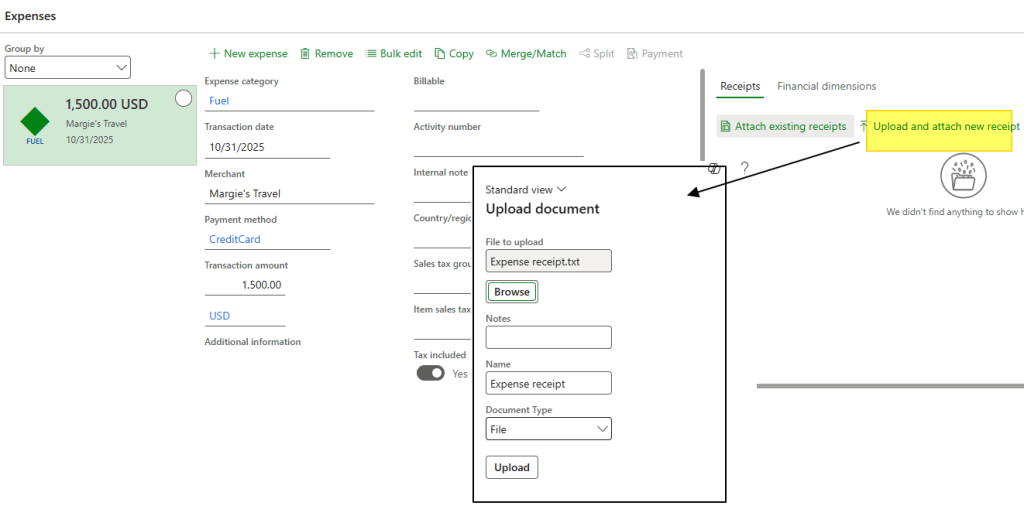
Attach the receipt from here. You can attach from the report header, but it won’t tie to the line. To tie it, use the “attach existing receipts” function.
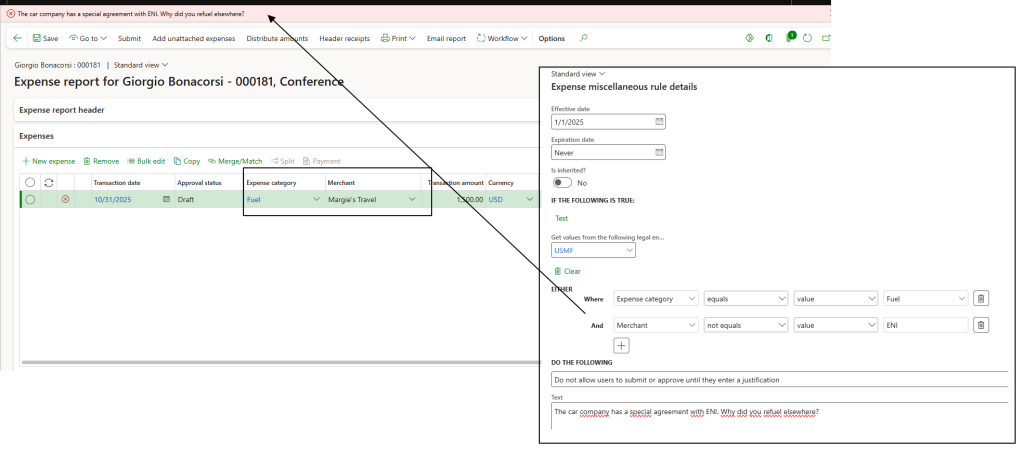
2- Expense policy check
When we save the expense report, the system compares the data against the validation rules in the expense policy. If something is wrong, it returns an error; otherwise, we can proceed. Here we can see an error because I configured a specific expense policy:
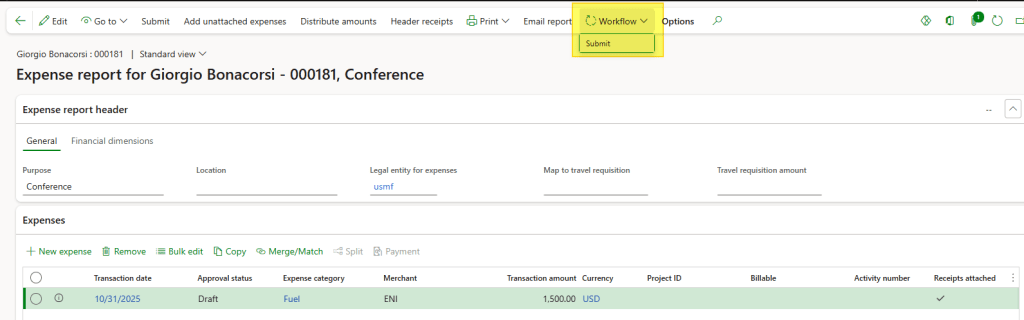
3-Submit the workflow
Submit the workflow. The system, based on inserted rules, will identify and trigger the approver for approval. Here we expose the case simplier case, but in reality we can even configurate the workflow at the line level:
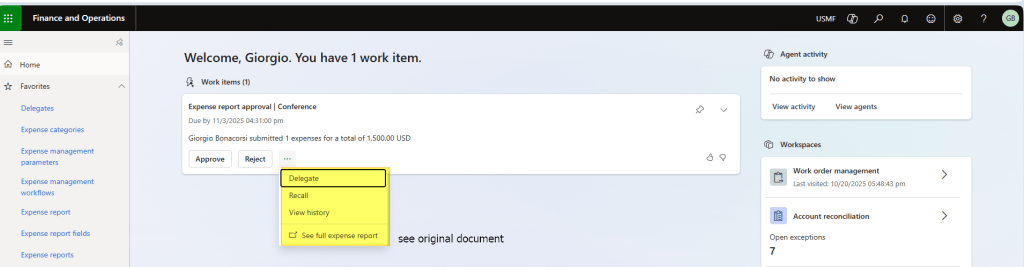
The approver can see items to approve from the home page and decide the action:
Alternativly, the approver can decide directly from the expense report:
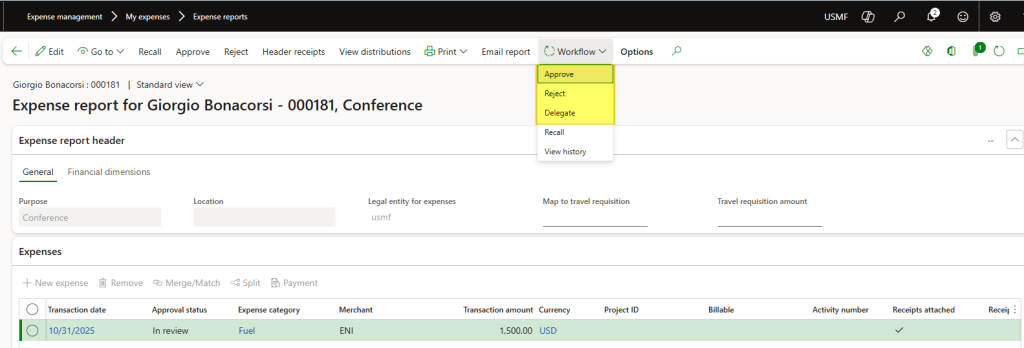
Once all approvers have approved, finish the last process step.
4- Post the expense report
Now the expense report document is validated and approved. We can forward witht the posting of the accounting entry.
Go to: Expense management> Process expense reports> All expense reports.
Select the document approved and post:
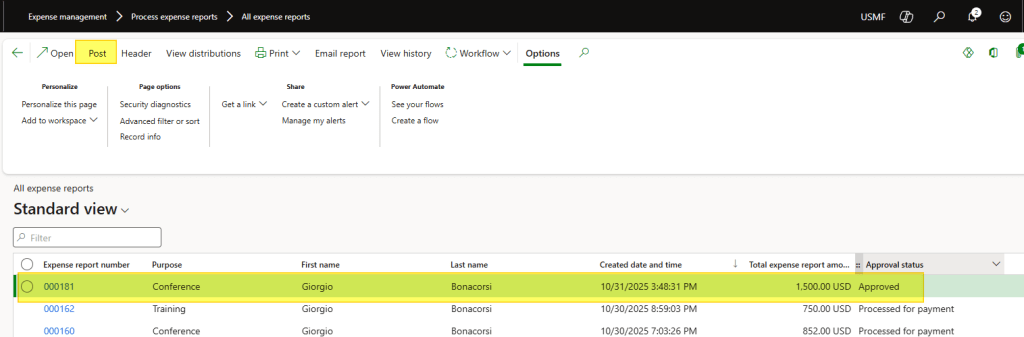
The system generates an accounting entry. The expense account comes from the expense category configuration, and the balance sheet account is driven by the payment method configuration.

Appendix
- The expense report assumes different states during the process:
- Draft: Not yet submitted
- In Review: Under submission process
- Approved: Approved, post the document
- Processed for payment: Accounting entry posted.
- It’s possible to insert the expense first, then link it to an expense report. Go to: Expense management > My expenses > Expenses. Create the expense, click Itemize. Finally, connect the expense to the expense report:


Leave a comment